Labyrinths of the World: The Devil's Tower: Chapter 2 Memory
Our Labyrinths of the World: The Devil's Tower Walkthrough includes easy instructions & colorful screen shots to help you along in this enthralling hidden objects adventure game!
General Tips & Information
Chapter 1 Tower
Chapter 2 Memory
Chapter 3 Sanderion
Chapter 4 Margaret
Chapter 5 Crystal
Ask for help in the comments below!
Chapter 1 Tower
Chapter 2 Memory
Chapter 3 Sanderion
Chapter 4 Margaret
Chapter 5 Crystal
Ask for help in the comments below!
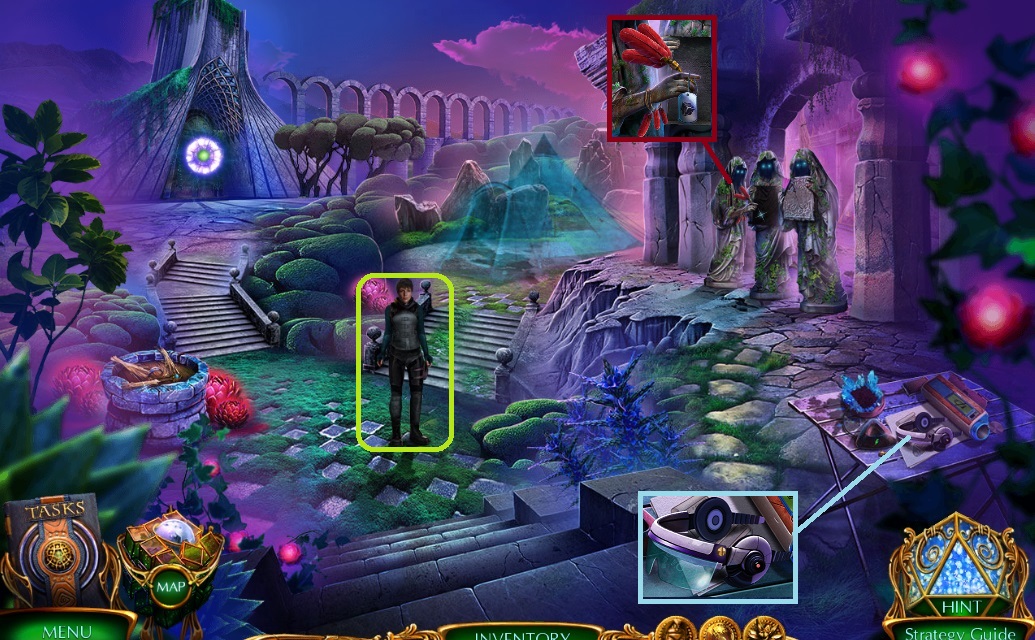
- Speak to Davona – collect the frameless lens.
- Place the quill – collect the dog tag.
- Insert the screw & use the frameless lens & dog tag.
- Collect & use the visor.
- Move ahead once.
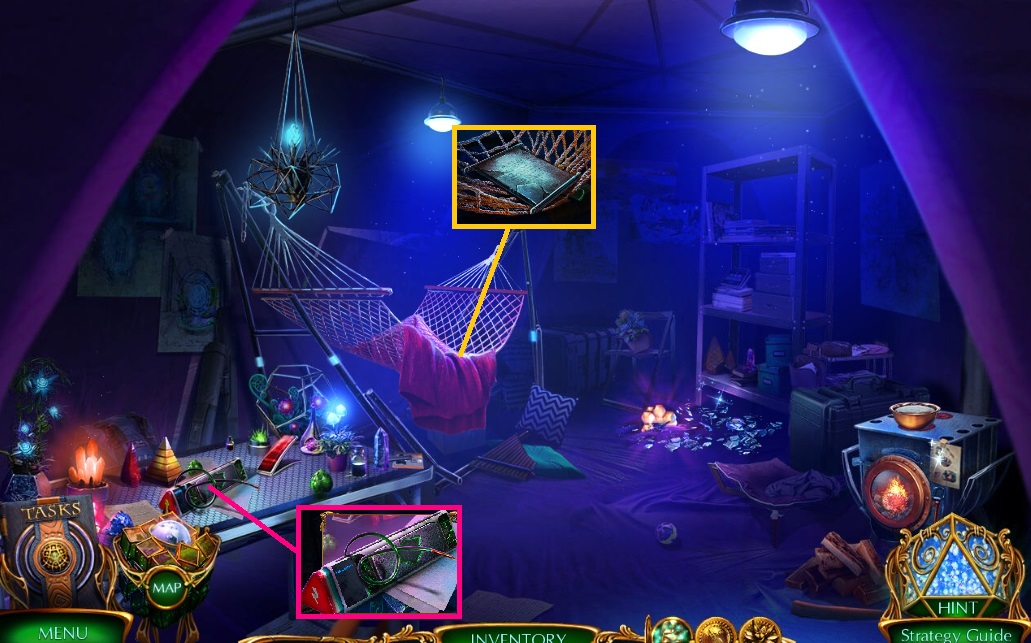
- Collect the cord & low battery.
- Click the blanket – collect the scroll.
- Move down once.
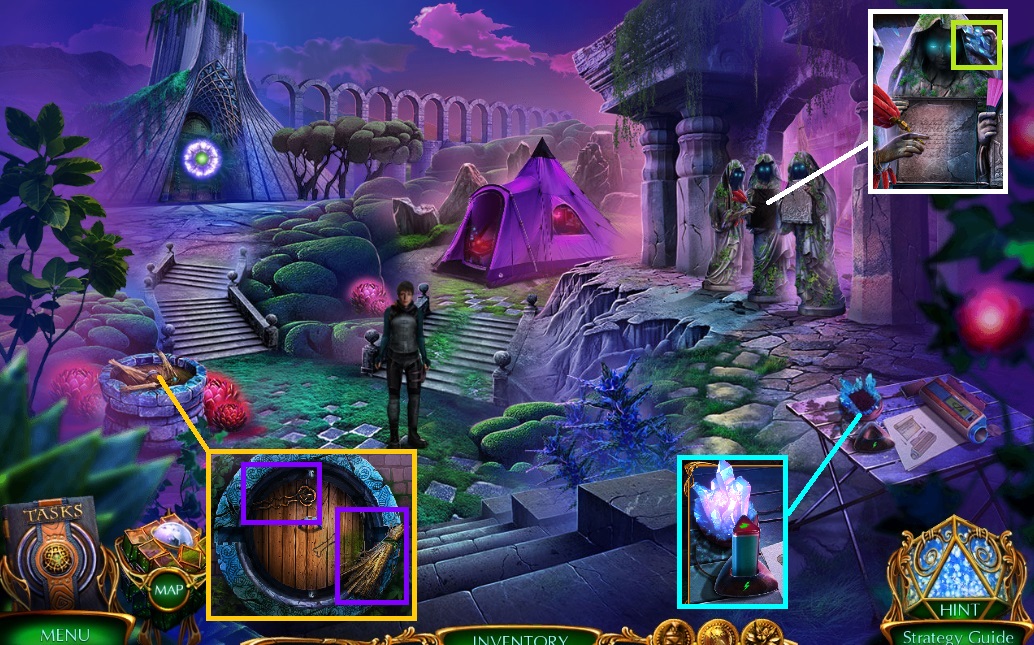
- Place the scroll – collect the crystal & place it along with the low battery; collect the charged battery.
- Select the cord – collect the broom & hair pin.
- Move ahead once.
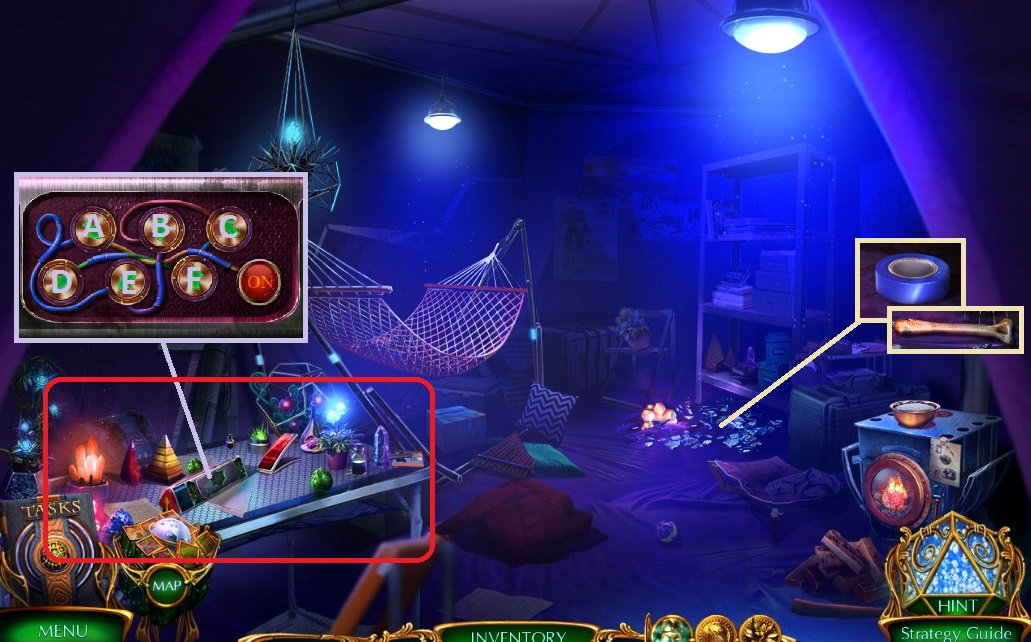
- Select the broom – collect the insulation tape & long bone.
- Place the charged battery & seeker amulet – attach the insulated tape to trigger a mini game.
- Solve the game by turning all the arrows green.
- A x 3 – C x 5 – E x 4 – F x 7
- Click the hidden objects area.
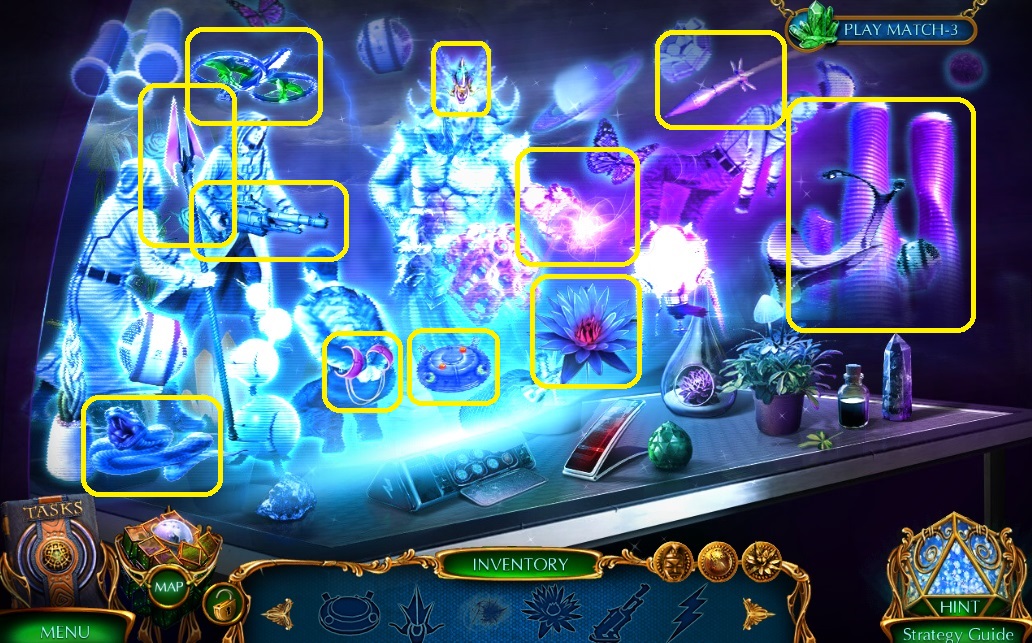
- Find the items.
- Collect the glowing pyramid.
- Move down once.
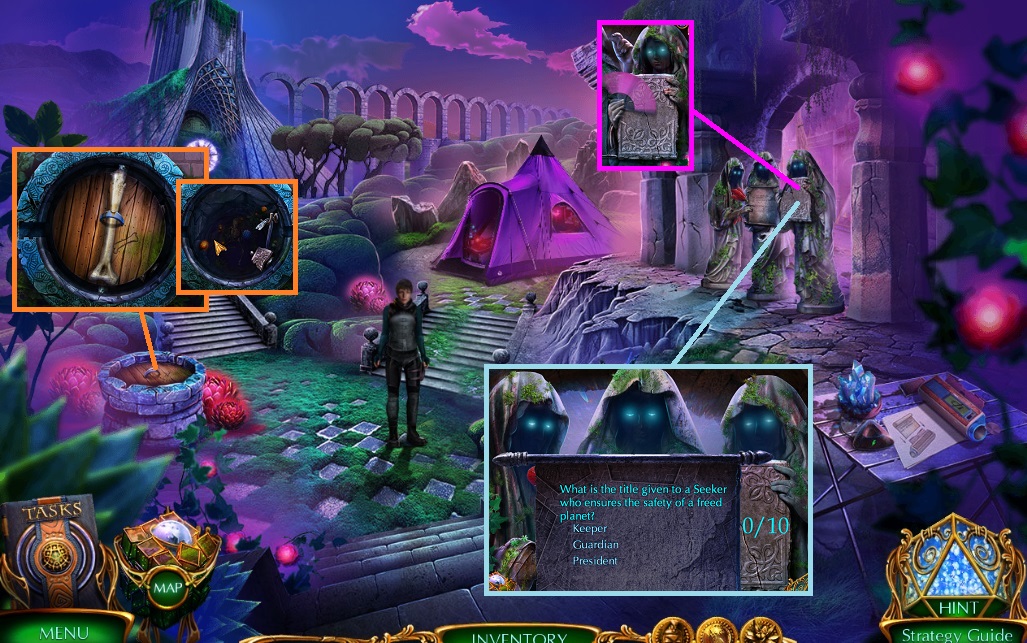
- Select the long bone – collect the stone shard & crowbar.
- Place the stone shard – collect the fan to trigger a mini game.
- Solve the game by answering the questions.
- The solution is random.
- Move to the right.
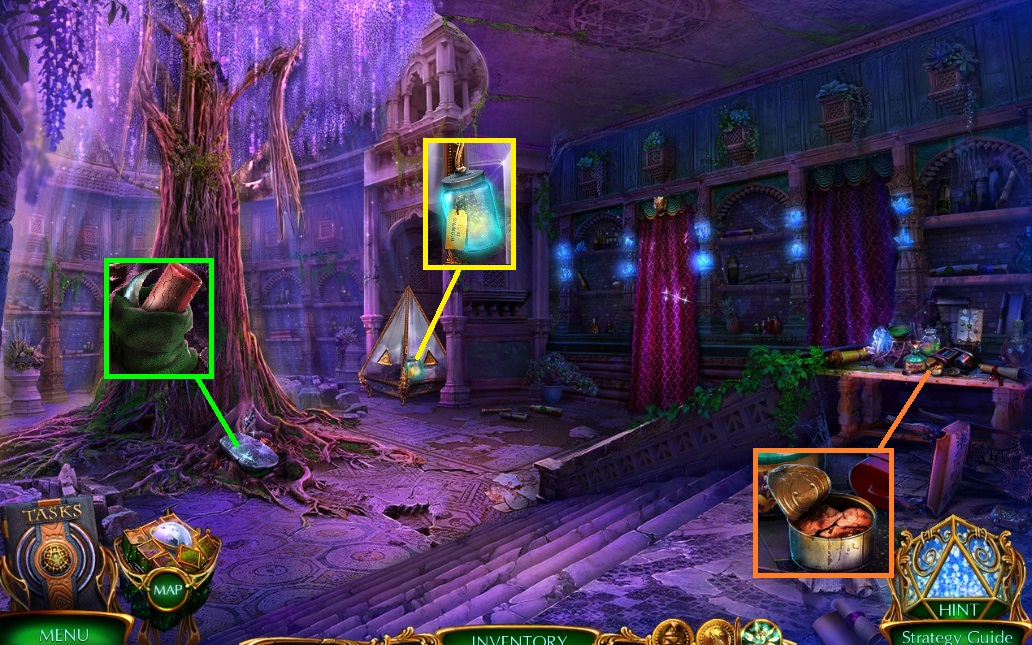
- Collect the phosphor.
- Select the crowbar – collect the roller & sharp claw.
- Collect the cat food.
- Move down once & ahead once.
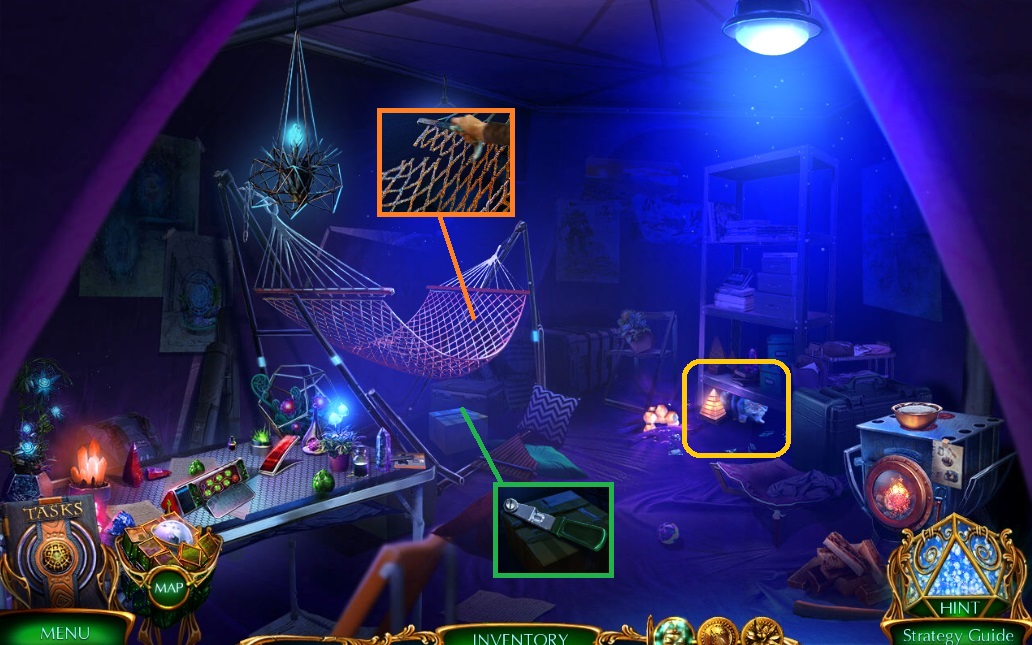
- Place the glowing pyramid- give the cat the cat food.
- Select the sharp claw to collect the hammock.
- Collect the lever.
- Move down once.
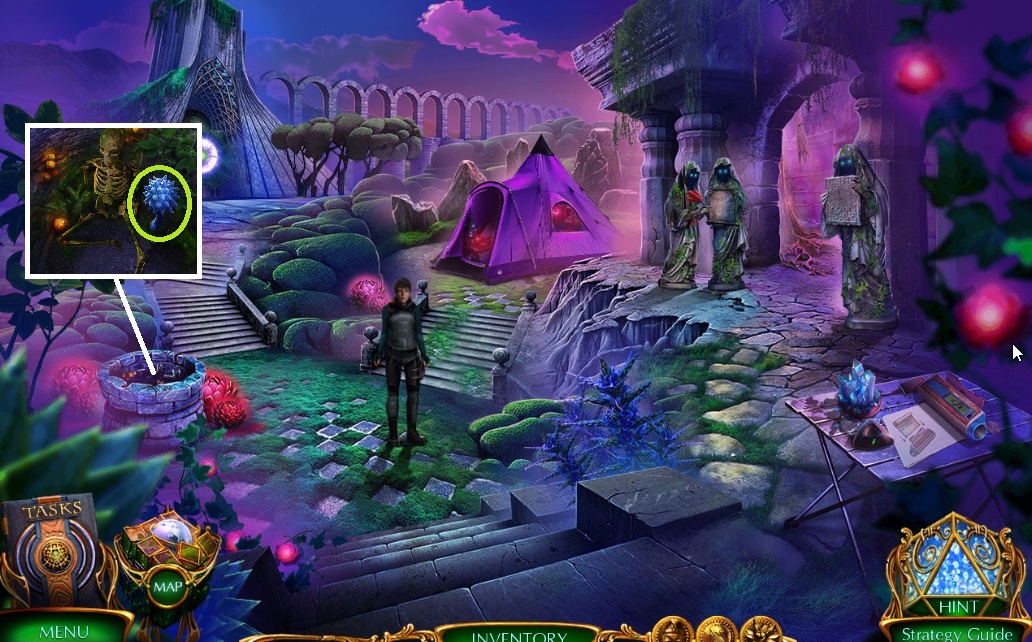
- Use the hammock to collect the fractal mushroom.
- Move to the right.
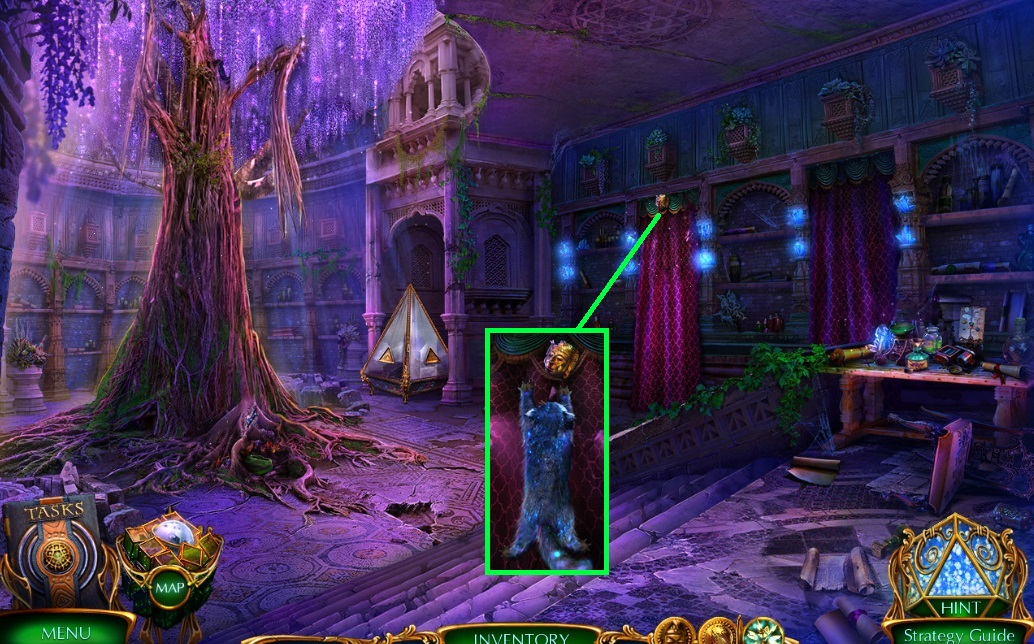
- Select the cat – collect the golden mask.
- Collect the manuscript.
- Move down once.
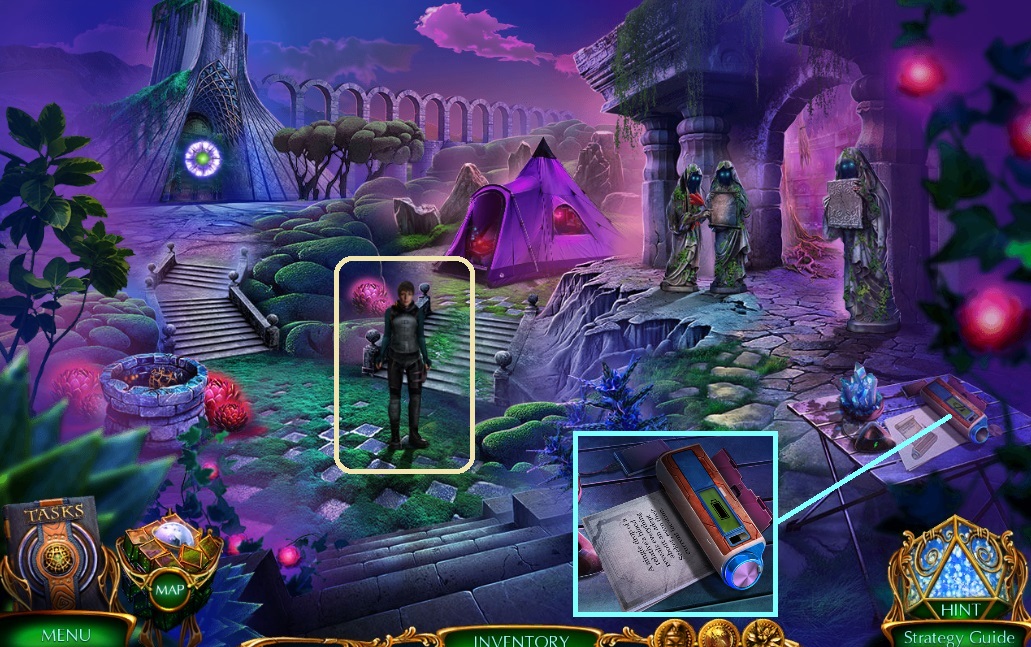
- Attach the roller & manuscript – collect the translation. & give it to Davona.
- Collect the fireproof glove.
- Move ahead once.
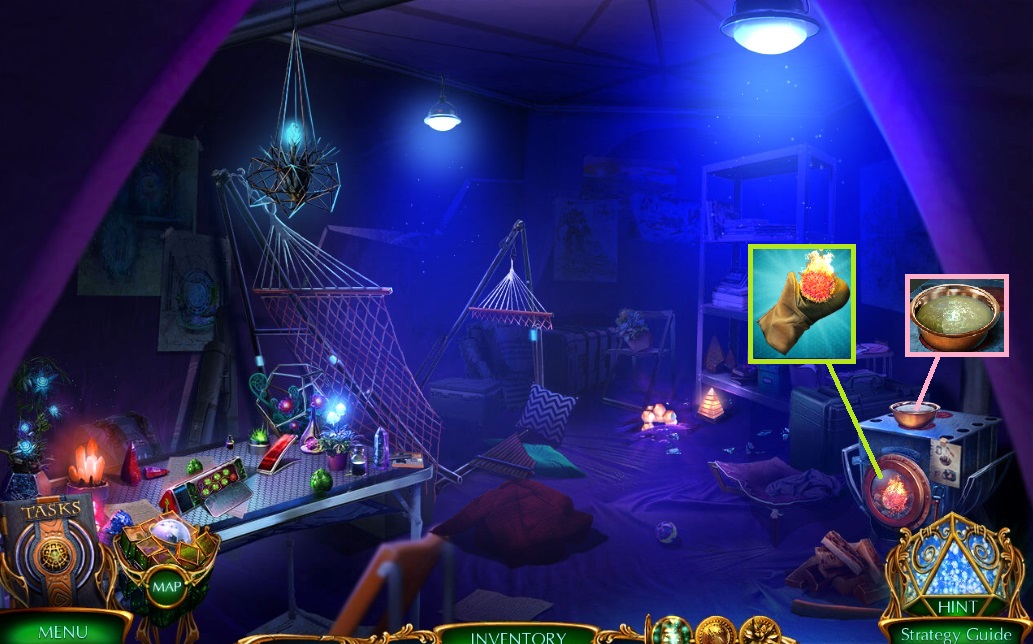
- Place the wax & phosphor into the bowl.
- Click the door – use the fireproof glove; collect the fire fruit.
- Select the fan – collect the phosphate.
- Move down once & go to the right.
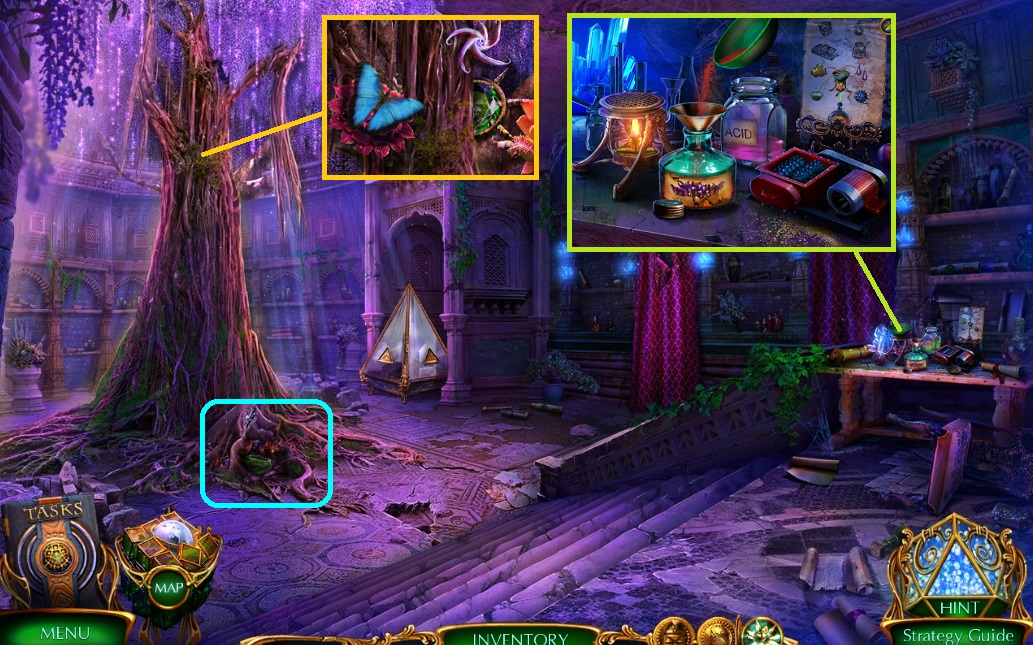
- Place the fractal mushroom & phosphate.
- Place the golden mask into the grinder – pour the powder into the bowl, then place the fire fruit into the acid.
- Pour the acid into the bowl – then pour the concoction into the bottle.
- Collect the reviving potion & acid.
- Use the reviving potion on the tree base.
- Look at the butterfly – collect the light flower & Sanderion seal.
- Move down once.
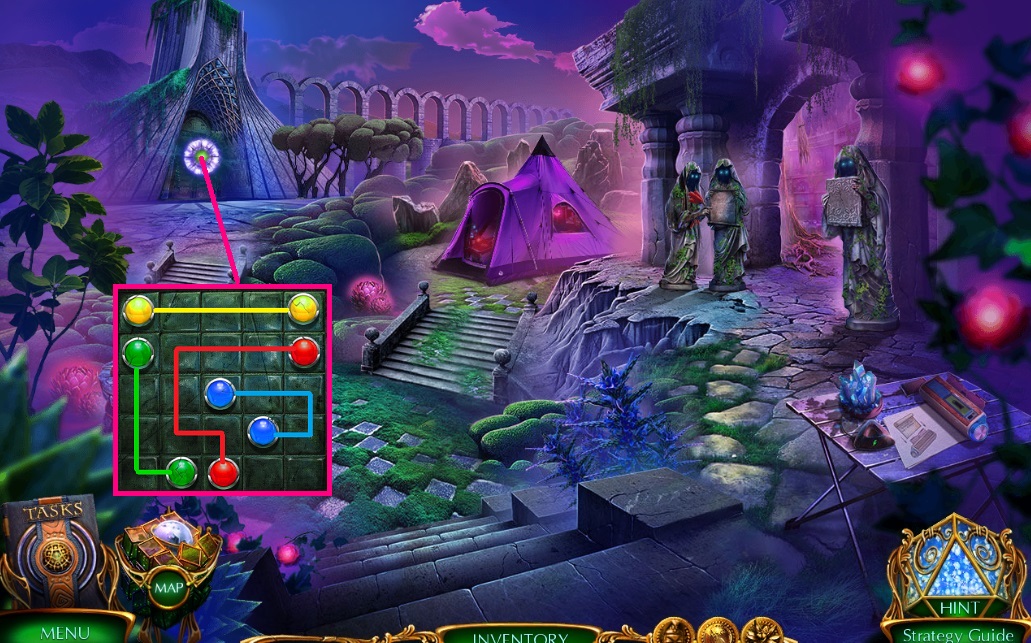
- Select the Sanderion seal to trigger a mini game.
- Solve the game by create color matched paths that do not intersect.
- Move to the left.
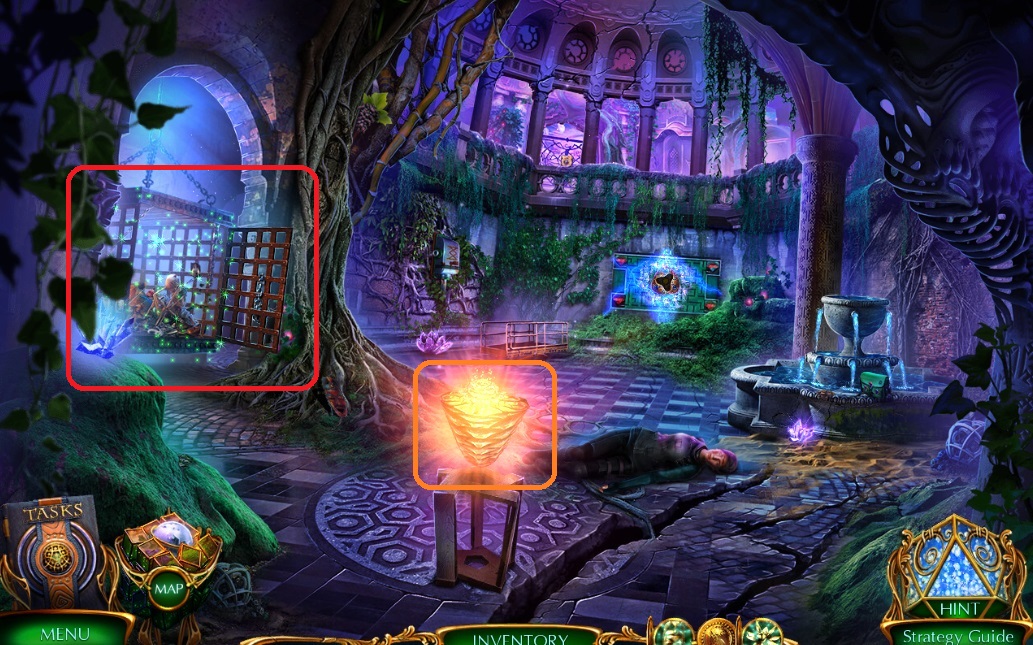
- Place the light flower.
- Select the hair pin to open the lock.
- Click the hidden objects area.
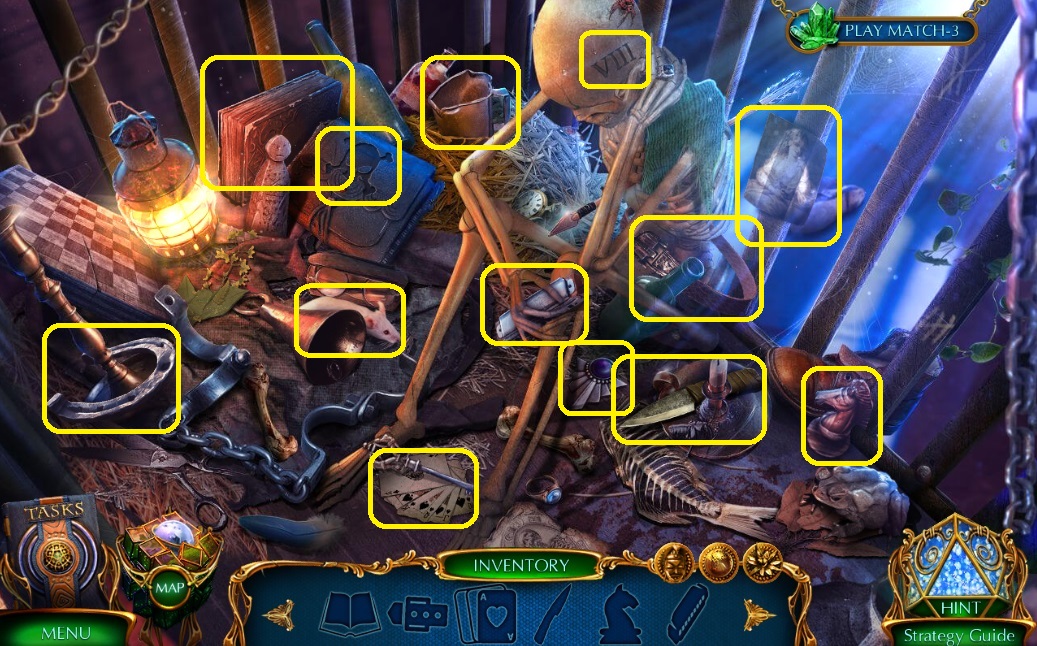
- Find the items.
- Collect the steel medallion.
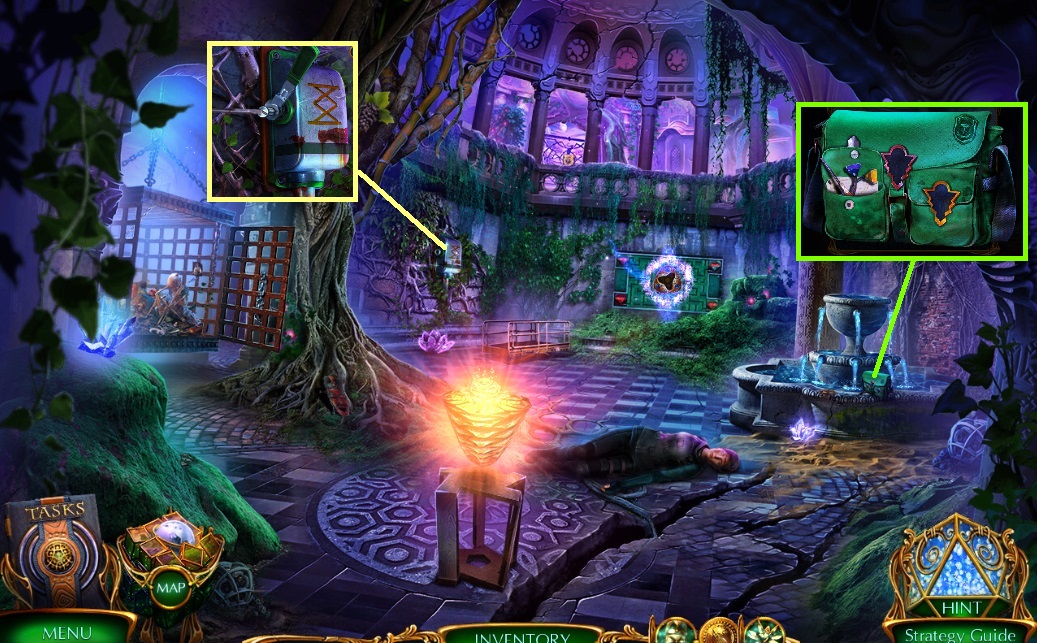
- Collect the seeker’s bag & place the steel medallion onto it; click it open.
- Collect the screwdriver, cords & note.
- Attach the lever & use the screwdriver.
- Move ahead once.
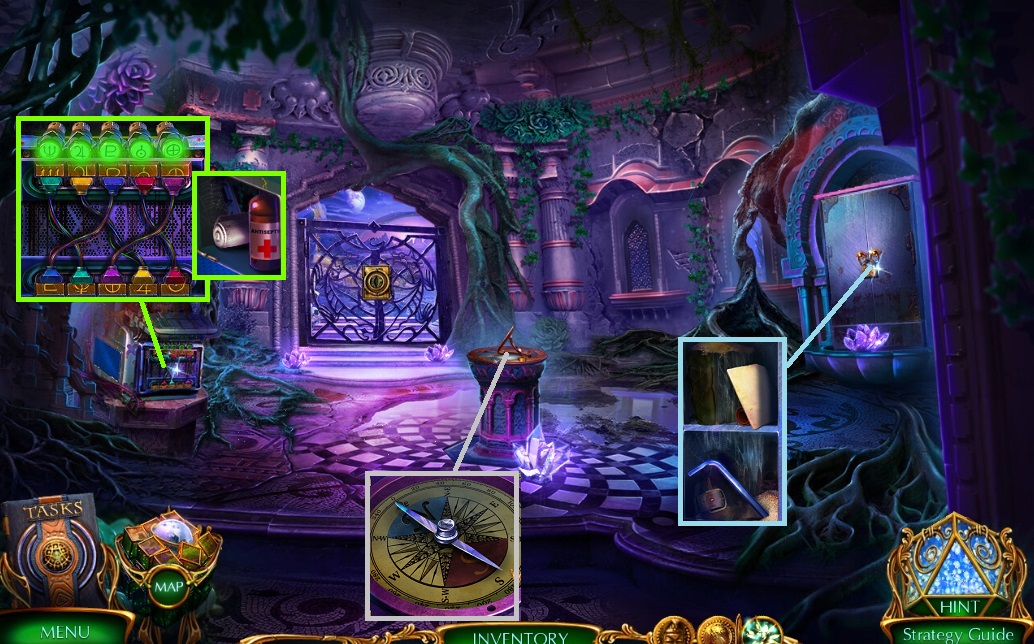
- Attach the cords to trigger a mini game.
- Solve the game by arranging the symbols correctly.
- Collect the first aid kit.
- Use the acid to collect the note & hex wrench.
- Select the hex wrench to collect the compass needle.
- Move down once.
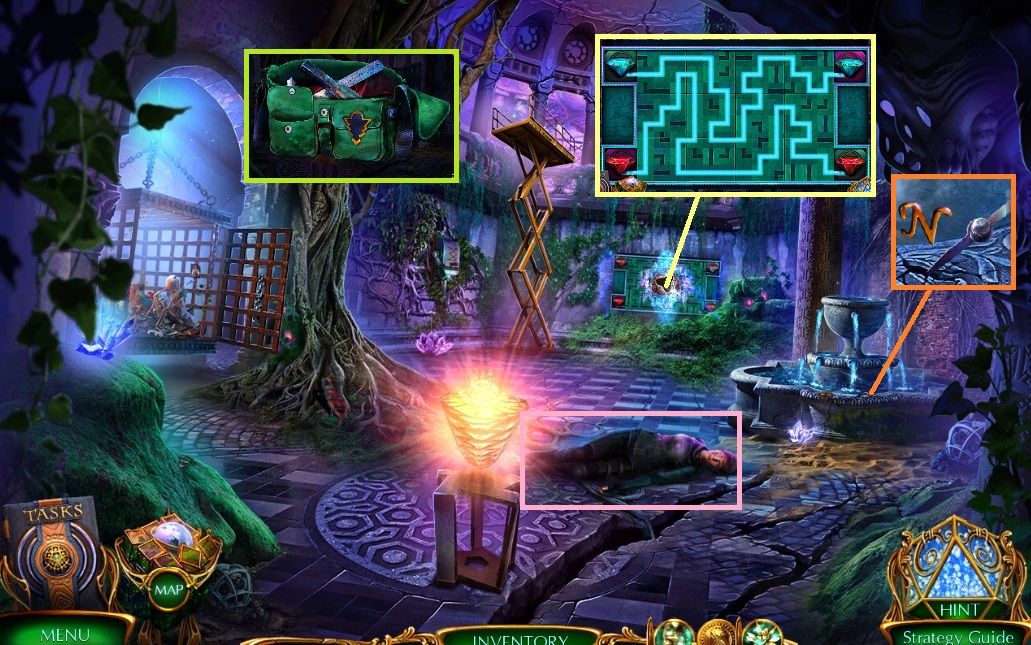
- Use the compass needle – collect the letter N.
- Use the first aid kit on Davona - collect the dissipation amulet & insert it to trigger a mini game.
- Solve the game by creating a path to move the crystals to their correct areas.
- Collect the charger crystal – collect the steel medallion & place it into the seekers bag.
- Collect the knife blade & metal ruler.
- Move ahead once.
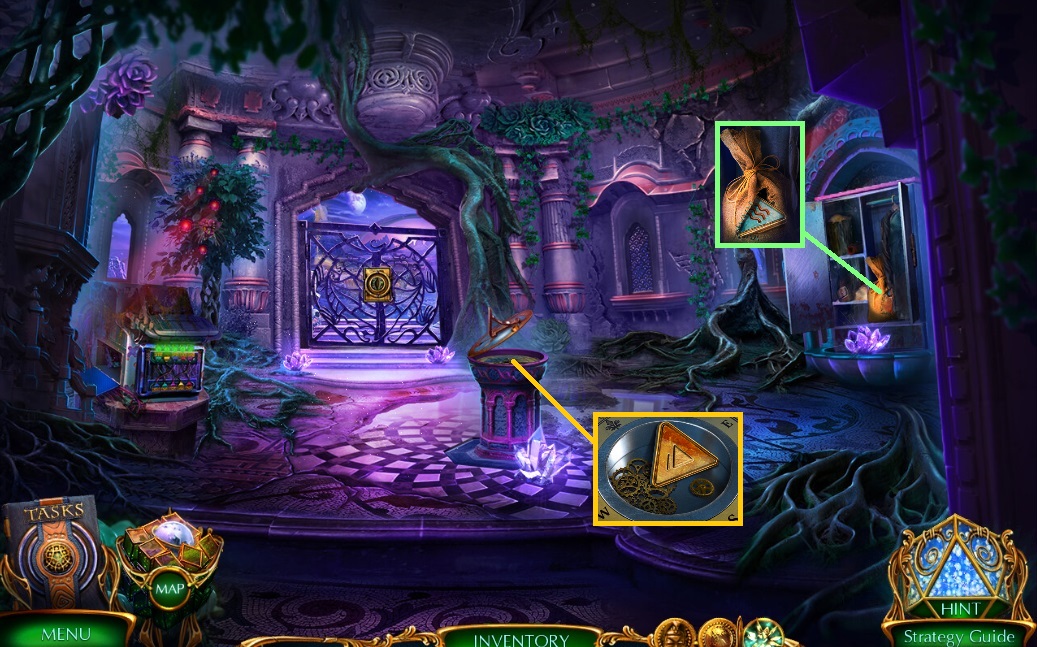
- Place the letter – collect the triangular amulet.
- Select the knife blade – collect the triangular amulet.
- Move to the Memory Storage.
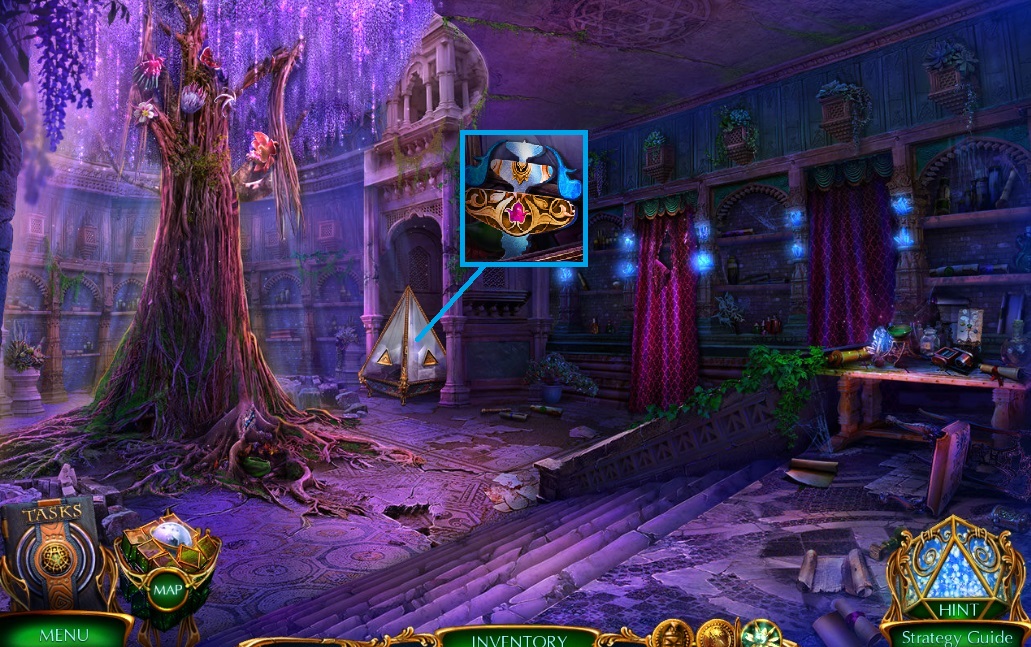
- Place the triangular amulets – collect the fountain amulet.
- Move down once & to the left.
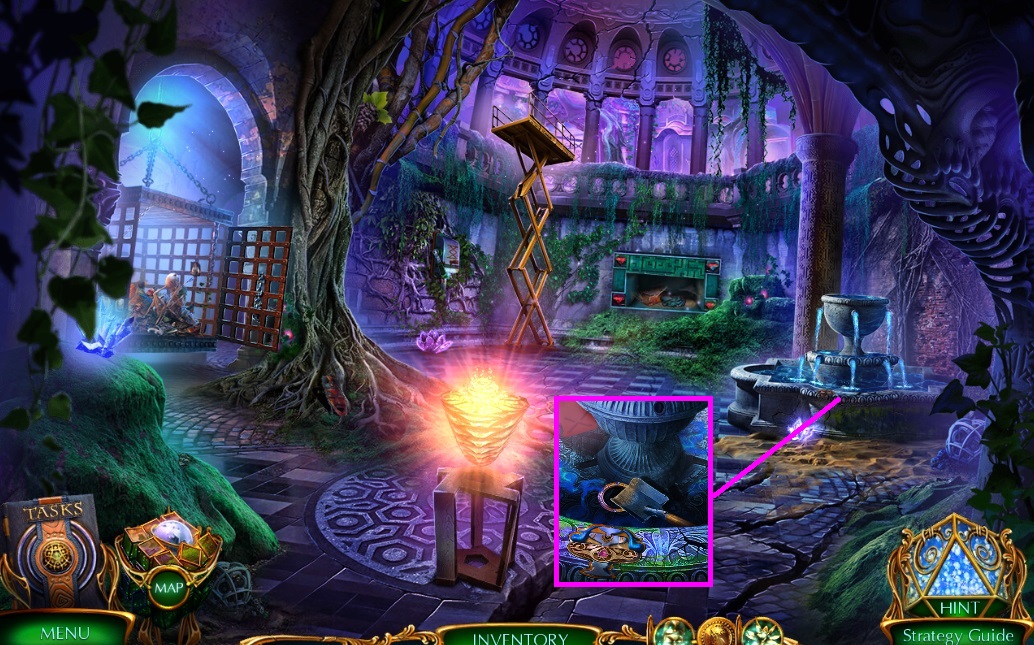
- Insert the fountain amulet – collect the shovel & navigation circle.
- Move ahead once.
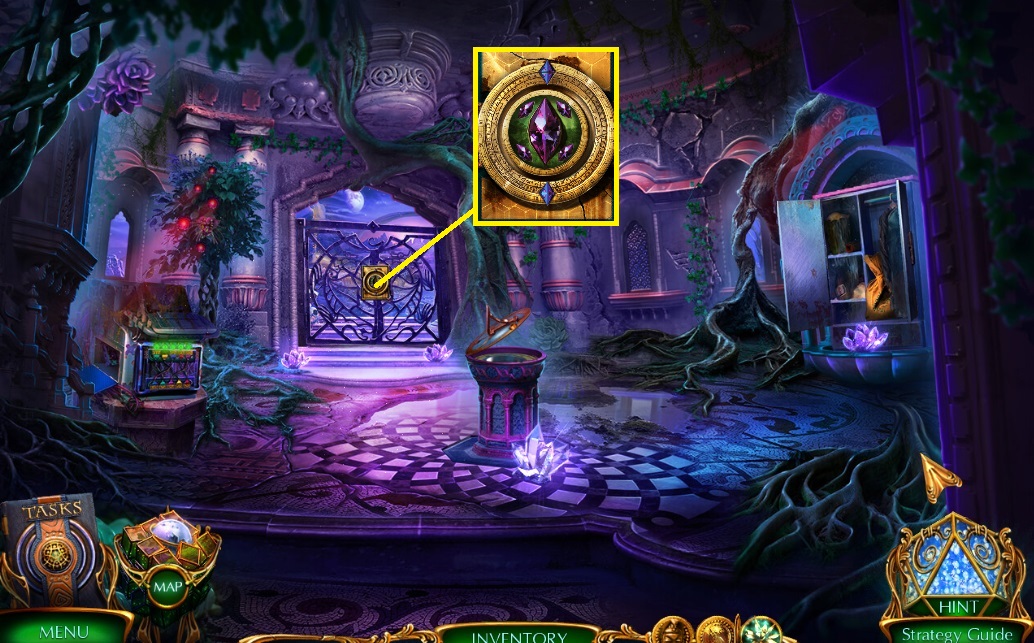
- Insert the charger crystal & navigation circle.
- Move ahead once.
General Tips & Information
Chapter 1 Tower
Chapter 2 Memory
Chapter 3 Sanderion
Chapter 4 Margaret
Chapter 5 Crystal
Ask for help in the comments below!
Chapter 1 Tower
Chapter 2 Memory
Chapter 3 Sanderion
Chapter 4 Margaret
Chapter 5 Crystal
Ask for help in the comments below!
