Demon Hunter 3: Revelation: Chapter 4 Enter the Corridor
Our Demon Hunter 3 Revelation Walkthrough is ready to help you solve this thrilling supernatural case of suspense and mystery with custom screenshots and detailed, step-by-step instructions. With our trusty walkthrough you can leap into this mystery fully prepared and ready to kick some demon derrière!
General Tips & Information
Chapter 1 Enter the Graveyard
Chapter 2 Enter the Catacombs
Chapter 3 Dockside
Chapter 4 Enter the Corridor
Chapter 5 Enter the Armory
Ask for help in the comments below!
Chapter 1 Enter the Graveyard
Chapter 2 Enter the Catacombs
Chapter 3 Dockside
Chapter 4 Enter the Corridor
Chapter 5 Enter the Armory
Ask for help in the comments below!
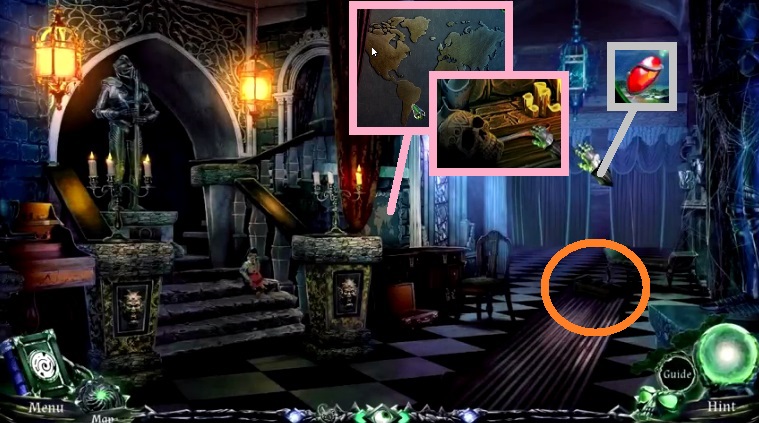
- Insert South America; click the skull & collect the vintage spoon.
- Collect the ladder.
- Click the curtains open.
- Collect the gargoyle eye.
- Move ahead to the Central Chamber.
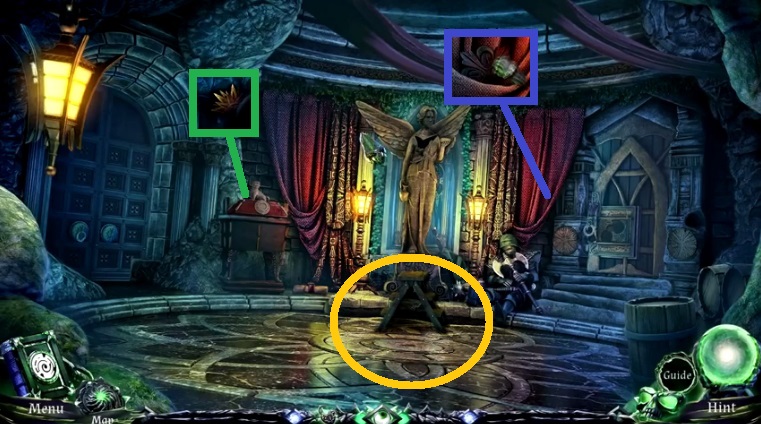
- Collect the royal medallion.
- Place the ladder.
- Collect the statue emblem.
- Move down 2x’s.
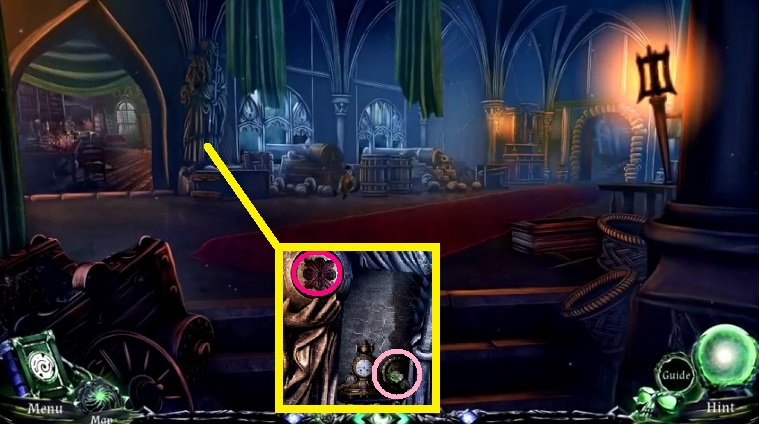
- Attach the statue emblem; click the clock & collect 1 /2 arena pieces.
- Move to the left & then to the right.
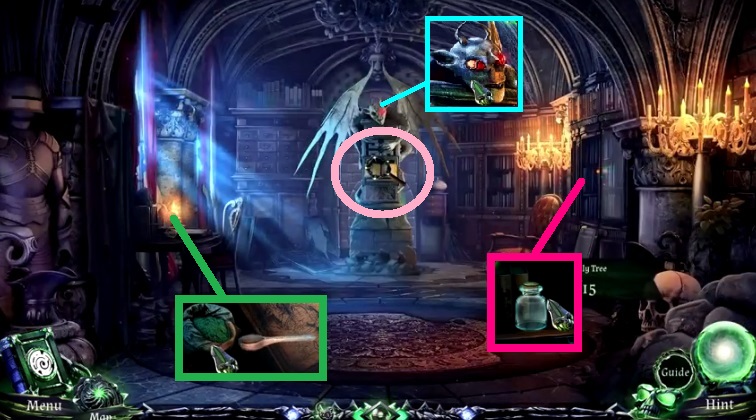
- Insert the gargoyle eye.
- Collect the empty bottle.
- Use the vintage spoon to collect a spoonful of cleaning powder.
- Click the podium to trigger a mini game.
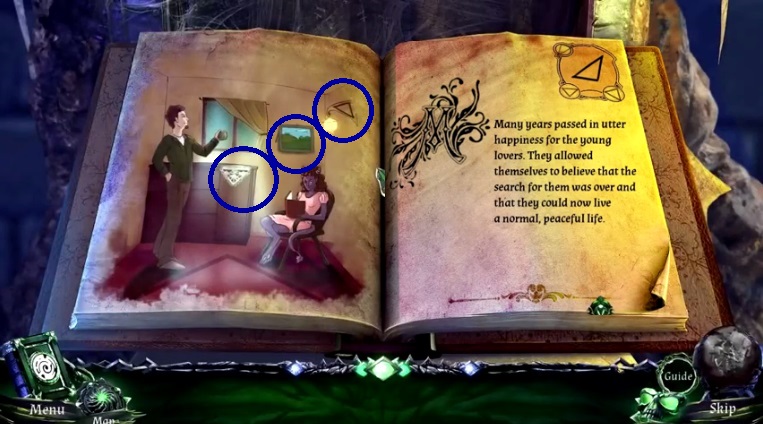
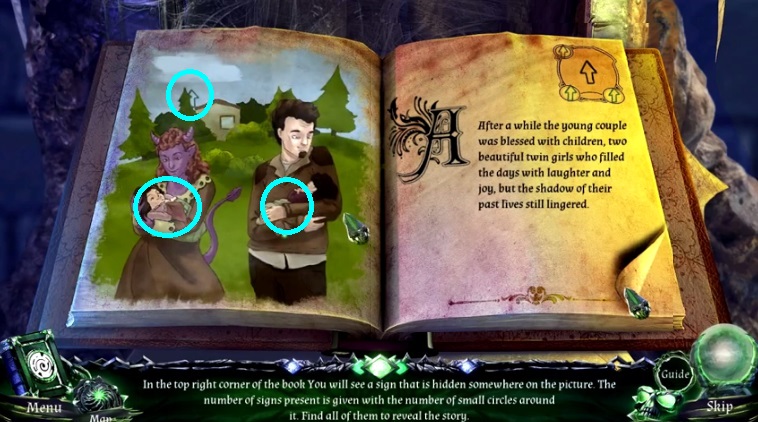
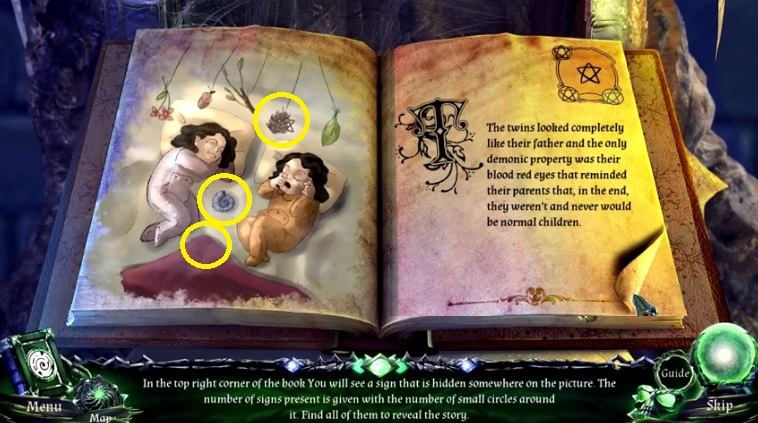
- Find the symbols within the image.
- Collect the amulet piece & the door handle.
- Move to the Central Chamber.
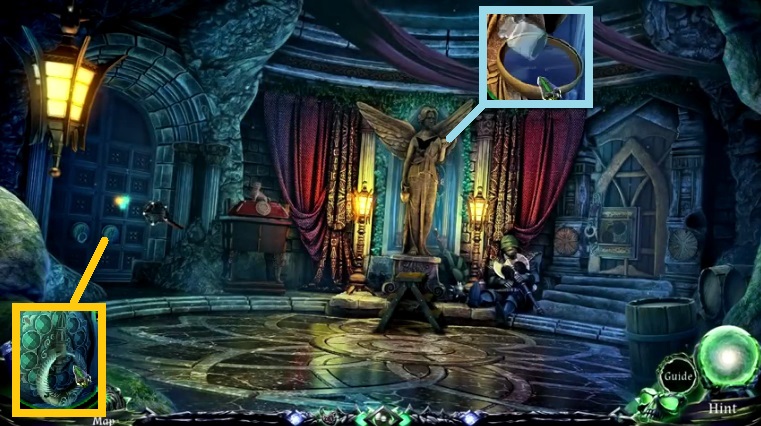
- Dip the empty bottle into the water.
- Attach the door handle.
- Move left.
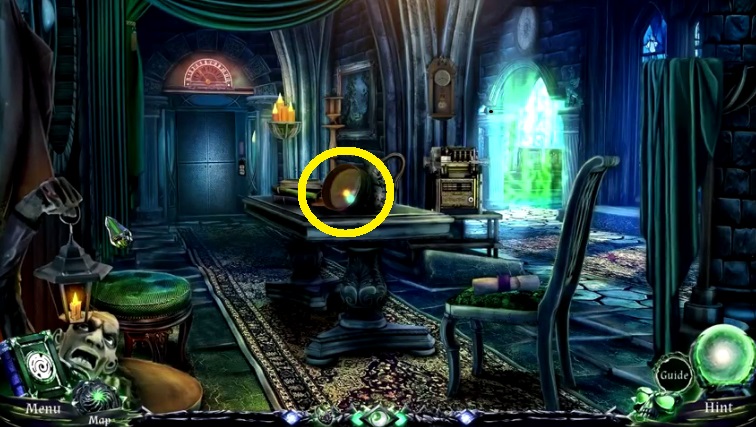
- Collect the sieve.
- Move to the Forgotten Temple.
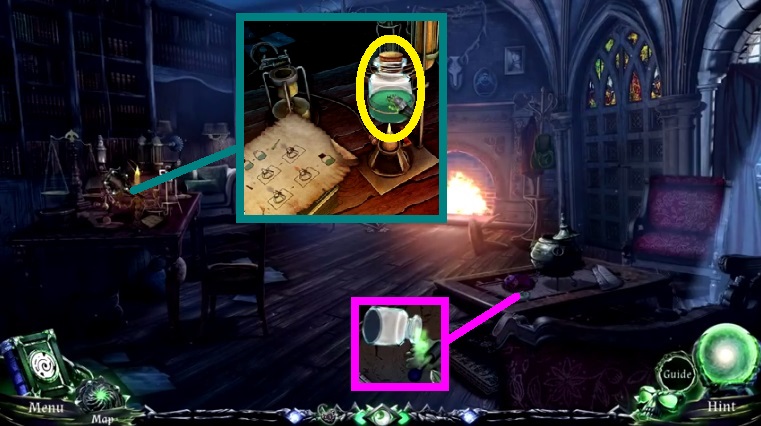
- Place down the bottle of water.
- Pour in the spoonful of cleaning powder.
- Attach & click the burner switch; use the matches to ignite the burner.
- Collect the cleaning solution & use it to collect the elevator lever.
- Move to the Waiting Room & into the Elevator.
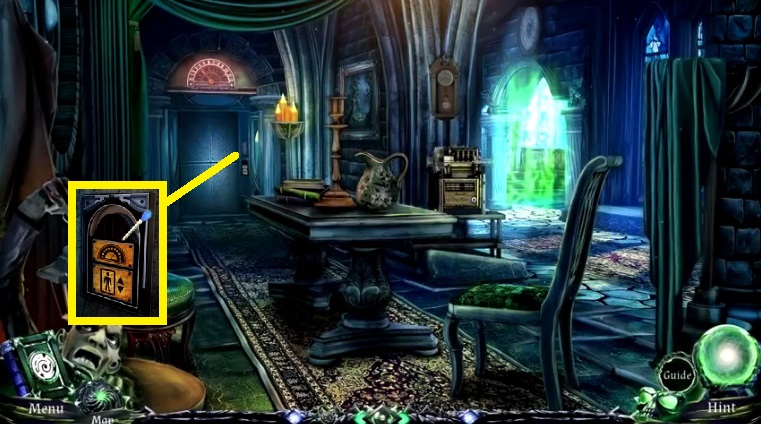
- Attach & click the elevator lever.
- Move into the Elevator.
- Click the hidden objects areas.
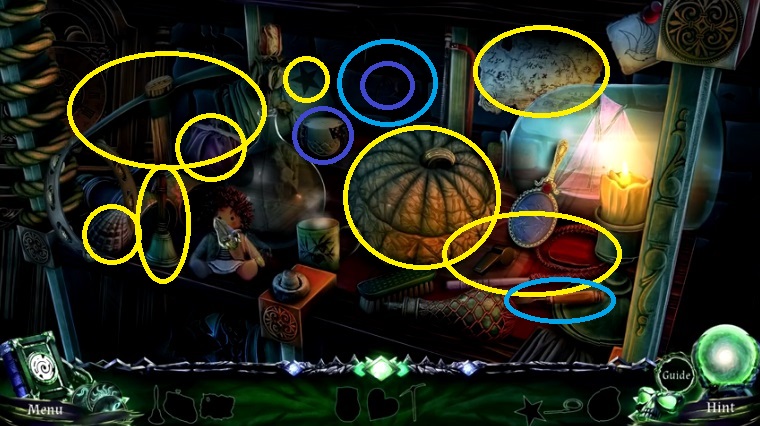
- Find the items.
- Collect the pick axe.
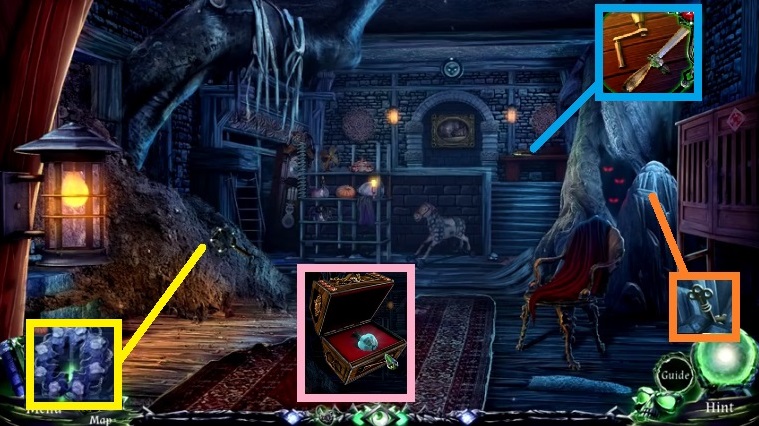
- Select the sieve to collect the mechanism key.
- Click the items aside; collect the machine handle & chisel.
- Select the pick axe to collect the offerings shrine key.
- Use the chisel on the small chest; collect the crystal.
- Move down once.
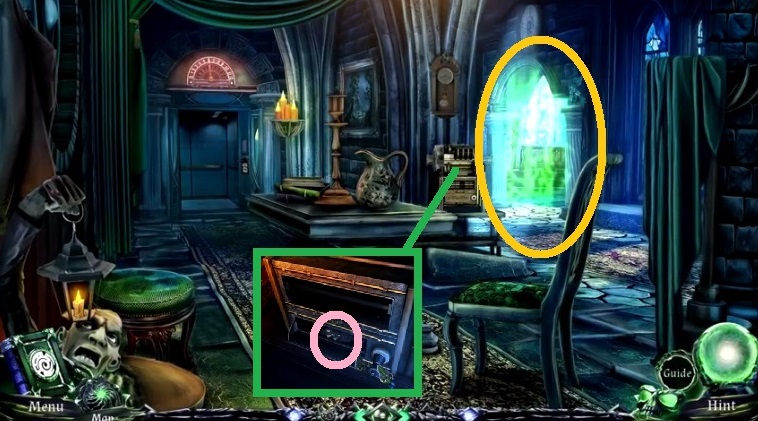
- Attach & click the handle; collect the 2nd mechanism key.
- Use the light crystal on the glowing area.
- Move to the right.
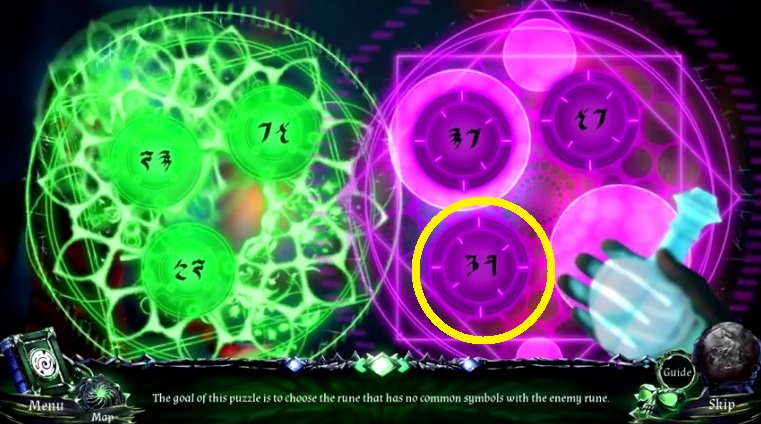
- Select the runes with the uncommon symbols.
- The solution is random.
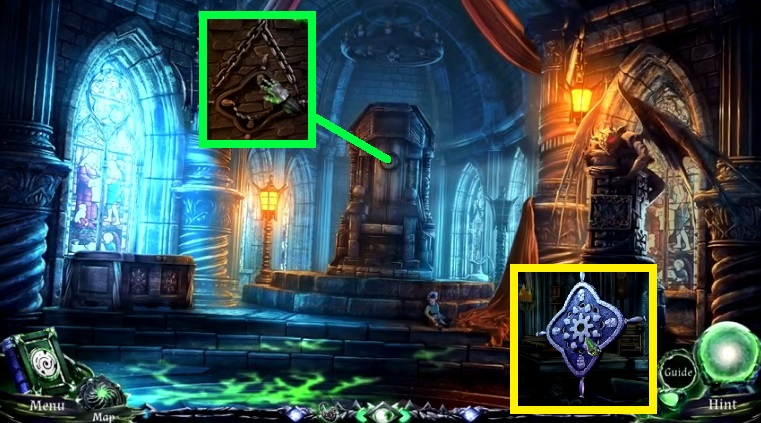
- Insert the royal medallion.
- Collect the royal mechanism frame; insert the 2 mechanism keys.
- Move down 2x’s.
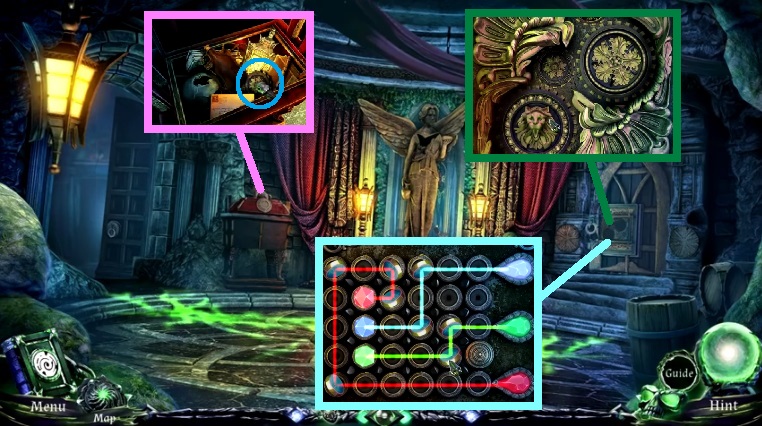
- Insert the offering shrine key; click the items aside collect the 2nd arena piece.
- Insert the arena pieces & arrange the mirrors correctly.
- Move to the right to the Stairway.
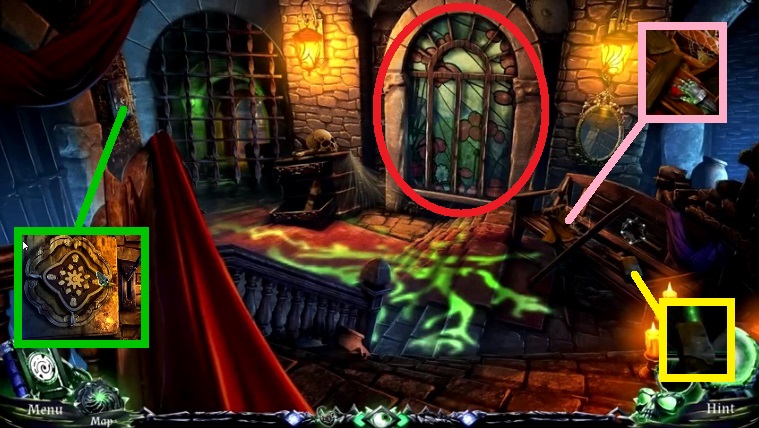
- Click the boards; collect the gargoyle eye & collect the brick.
- Insert the mechanism key.
- Select the brick to smash the glass and trigger a hidden objects area.
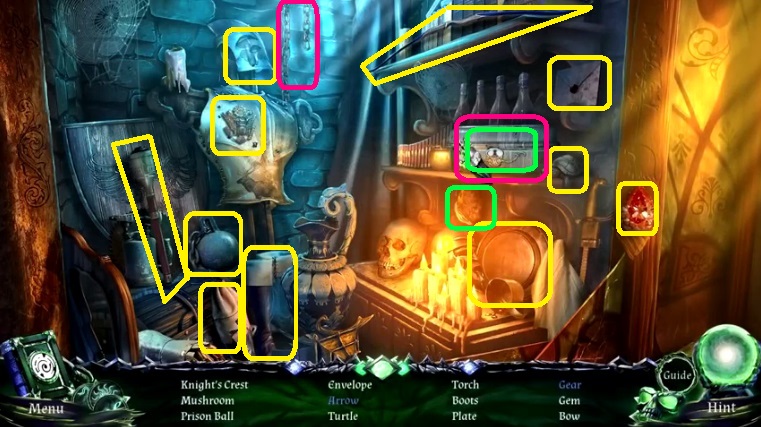
- Find the items.
- Collect the gear.
- Move to the Throne Room.
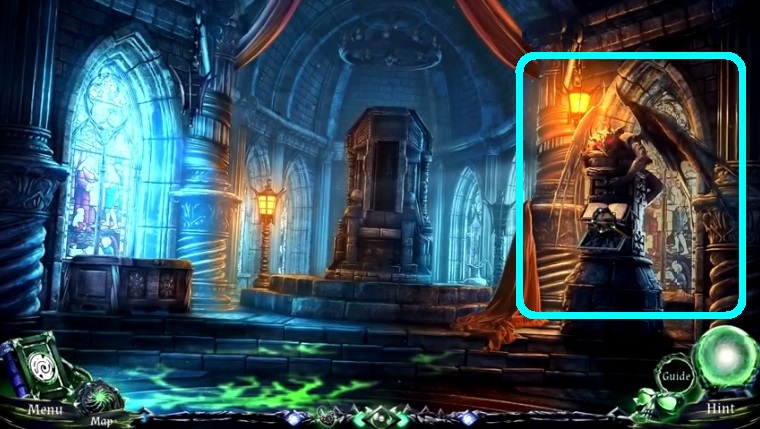
- Insert the gargoyle eye.
- Click the podium to trigger a mini game.
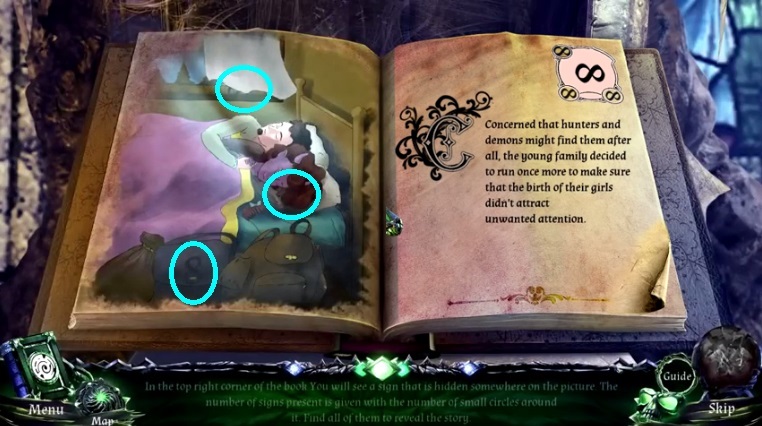
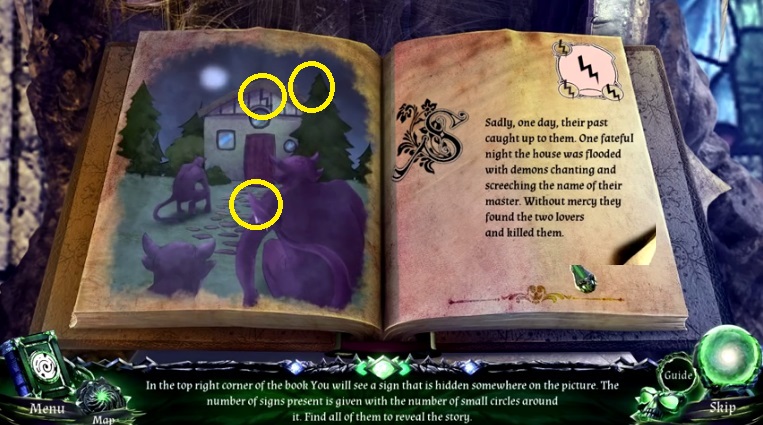
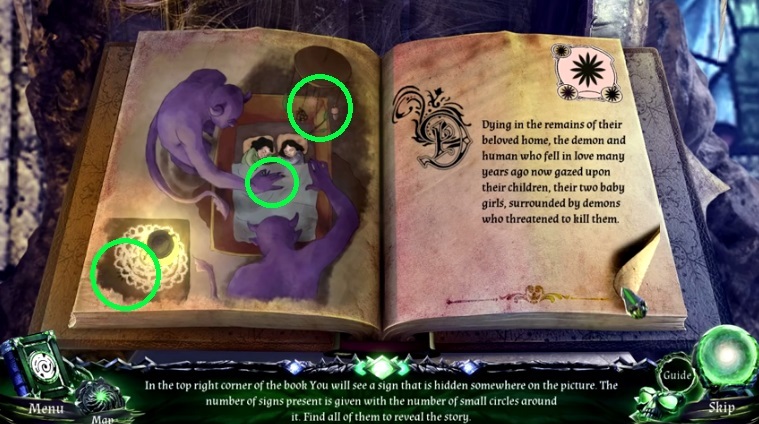
- Find the symbols within the image.
- Collect the amulet piece & royal ring.
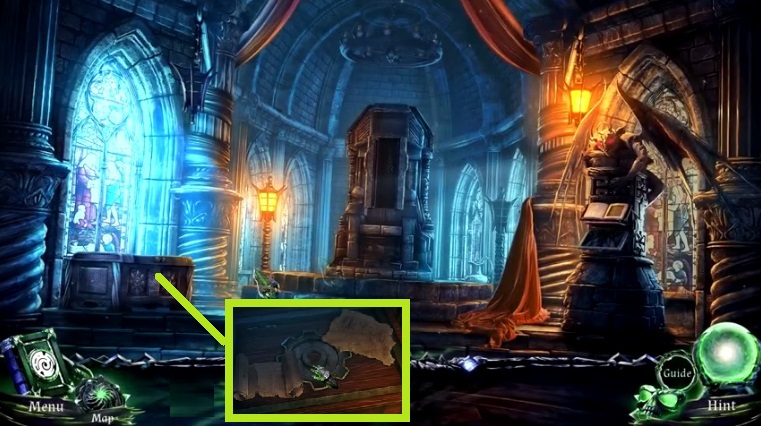
- Select the royal ring to use on the dials.
- Click the papers; collect the gear.
- Move to down 2x’s & to the right.
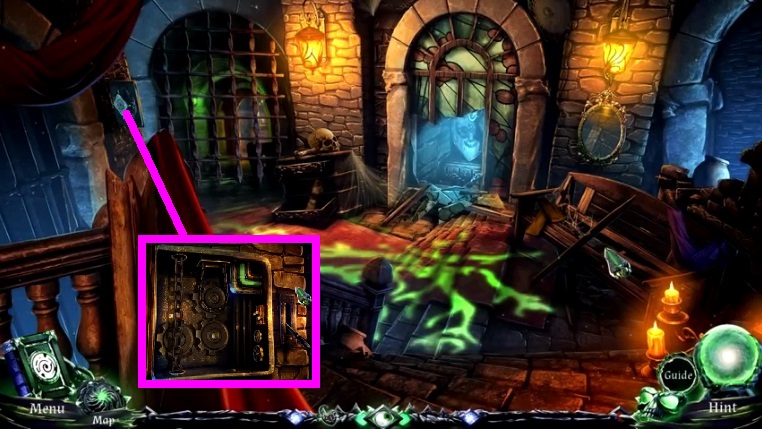
- Insert the gears & click the lever.
- Move to the Basement.
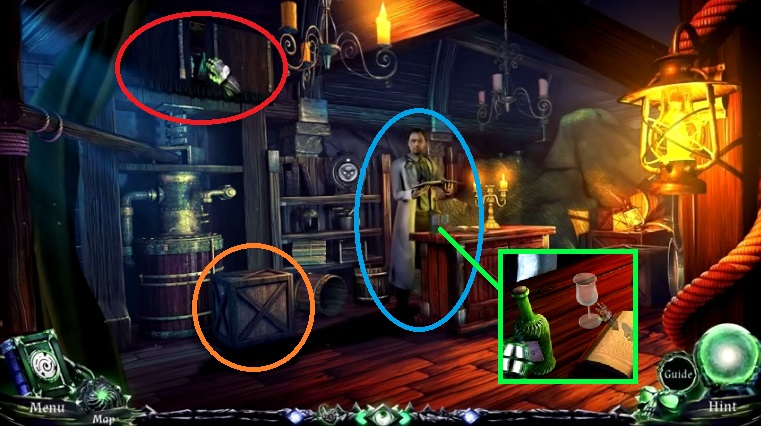
- Speak to the doctor.
- Collect the wine bottle.
- Click the crate beneath the mechanism.
- Click the cupboard to trigger a hidden objects area.
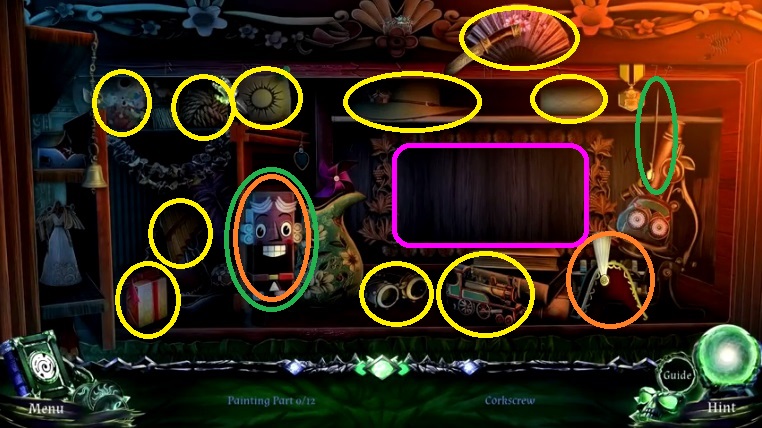
- Find the items.
- Collect the corkscrew.
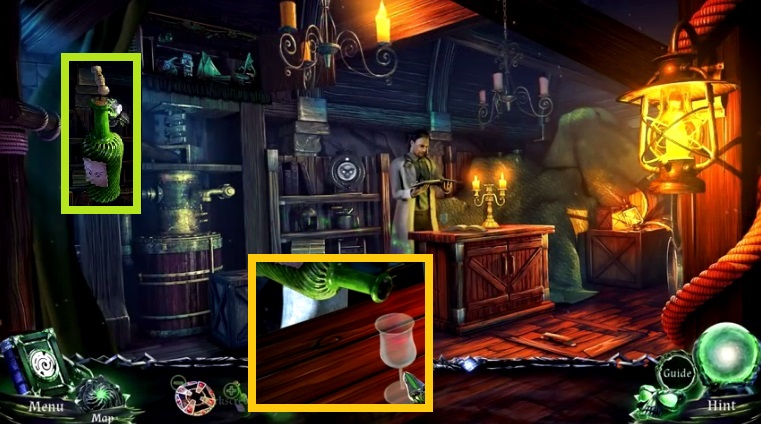
- Use the corkscrew to open the wine & pour it into the wine glass.
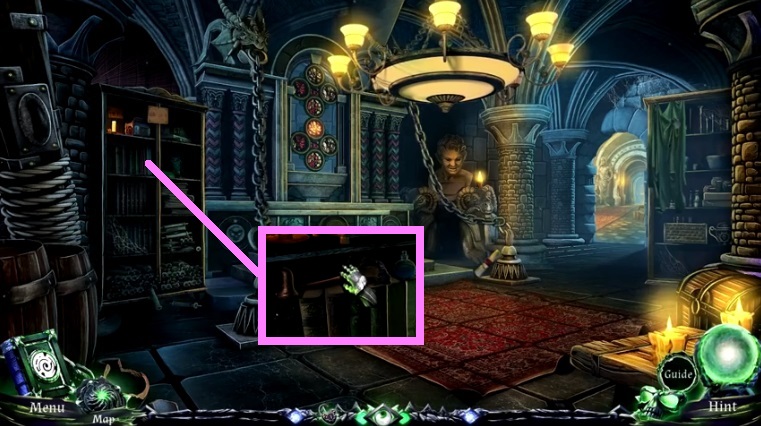
- Click the items aside; collect the duster.
- Move to the right.
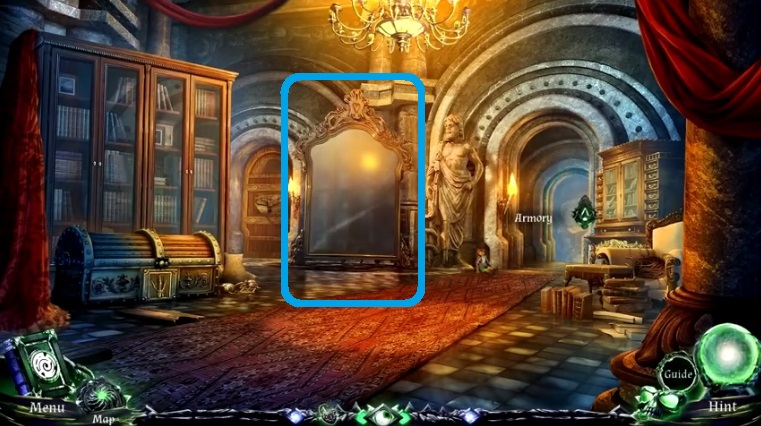
- Click the mirror.
- Move to the right.
General Tips & Information
Chapter 1 Enter the Graveyard
Chapter 2 Enter the Catacombs
Chapter 3 Dockside
Chapter 4 Enter the Corridor
Chapter 5 Enter the Armory
Ask for help in the comments below!
Chapter 1 Enter the Graveyard
Chapter 2 Enter the Catacombs
Chapter 3 Dockside
Chapter 4 Enter the Corridor
Chapter 5 Enter the Armory
Ask for help in the comments below!
